Buying a Turkish SIM card is simple once you know the sequence: check your phone, gather your documents, choose an operator and plan, complete the registration, and activate your line. Each step has its own details, and getting them right at the start saves you from suspended numbers, wasted money, and registration headaches later.
This ten-step guide walks you through the entire process, from the preparation you should do before leaving home to the ongoing management of your Turkish number. Operator policies vary, so confirm specifics with your chosen operator, but the structure below applies to every legitimate purchase.
Step 1: Check Your Phone Before You Leave
The first step happens before you fly. Confirm that your phone is unlocked, meaning it accepts SIM cards from any carrier. Phones locked to your home operator will not work with a Turkish SIM, and unlocking usually requires arranging it with your carrier before travel.
Check eSIM compatibility as well. If your phone supports eSIM, you have the option of activating a Turkish number digitally, which is convenient for dual-number setups. Recent flagship phones support eSIM; many budget models do not. Knowing your phone’s capabilities shapes your buying decision.
Verify that your phone covers the frequency bands Turkish operators use. Most modern phones work fine, but older devices from some markets may lack bands for full-speed data. A quick compatibility check prevents the disappointment of a phone that only gets slow connections.
Step 2: Gather Your Documents
For a resident buying a SIM, the document set is your passport, your residence permit, and often your tax number. Tourists need their passport, which is registered for the temporary period of their stay. Have photocopies ready, because the store keeps copies for its records.
Bring proof of address if you have it, such as a utility bill or rental contract, because some operators request it during registration. If your name spelling differs across documents, bring the document that shows the official spelling, because consistency across registrations matters.
Keep your documents in a small folder with your payment method. The purchase is fast when everything is at hand, and a prepared customer finishes the transaction in minutes rather than waiting for staff to wait on forgotten details.

Step 3: Choose Your Operator
Turkey’s three main operators all serve foreign customers, and the differences between them are real. Compare current prepaid data packages, because pricing shifts frequently, and compare coverage in the neighborhoods where you will actually spend time, because network quality varies by region.
Visit operator websites or stores to see current offers. Some operators market specifically to tourists with airport desks and English-speaking staff, while others focus on residents with stronger postpaid offerings. Match the operator to your situation: short stay or long residency.
Ask other expats and locals which operator they use and why. Word of mouth reveals practical details, such as which network holds up in your building or which store handles foreign registrations most smoothly, that no advertising will tell you.
Step 4: Decide Between Physical SIM and eSIM
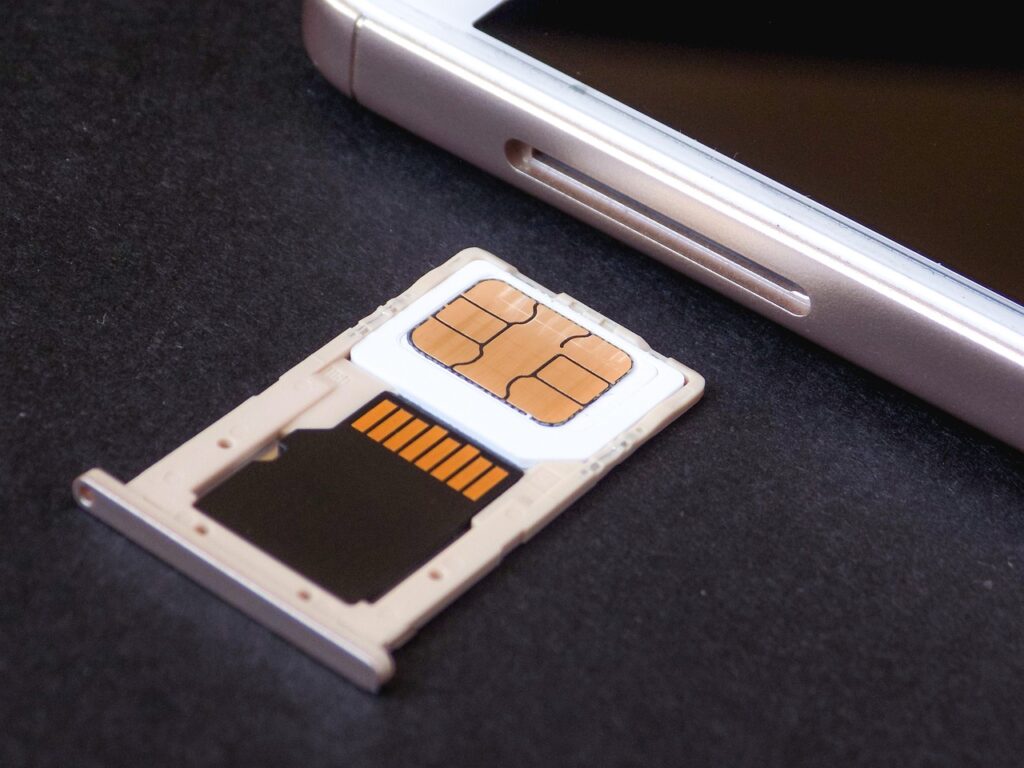
With your phone checked and operator chosen, decide the format. A physical SIM is purchased and registered at the store, installed in your phone, and supported in person if problems arise. It is the safest, simplest choice for most residents.
An eSIM is activated digitally, either at the store or online, and is ideal if you want to keep your home number active alongside the Turkish number. It requires an eSIM-compatible phone and a stable internet connection during activation.
Consider your long-term plans. If you expect several years of residency, the physical SIM with in-person support is pragmatic. If you travel often and value flexibility, the eSIM’s dual-number convenience may win. You can also start with one and switch later.
Step 5: Visit the Store or Order Online
For a physical SIM, visit an official operator store, ideally one in a central location with English-speaking staff. Present your documents, explain your situation, and the staff will walk you through the available plans. Airport desks and authorized dealers work too, but verify they are official.
For an eSIM, you may order online through the operator or a travel-focused provider. You upload your documents, choose a plan, pay, and receive activation instructions, usually a QR code or a profile download. Some online providers verify identity digitally; others require a store visit.
Whichever channel you choose, keep your documents consistent with the identity details you provide, because the registration system compares them against official records.
Step 6: Complete the Registration
Registration is the legal heart of the purchase. The operator scans your passport or residence permit, enters your details into the national system, and links the number to your identity. For physical SIMs, this happens at the store while you wait; for eSIMs, it happens during the digital activation.
The registration determines what kind of service you receive. Tourist registration is tied to your visa period. Resident registration, requiring your residence permit, allows continuous service. Make sure the operator applies the correct type for your situation.
Verify the details after registration: your name spelling, passport number, and registration type. Errors are trivial to fix on the spot and painful to fix later. Read the confirmation and ask the staff to confirm the details are correct.
Step 7: Choose Your Plan and Pay
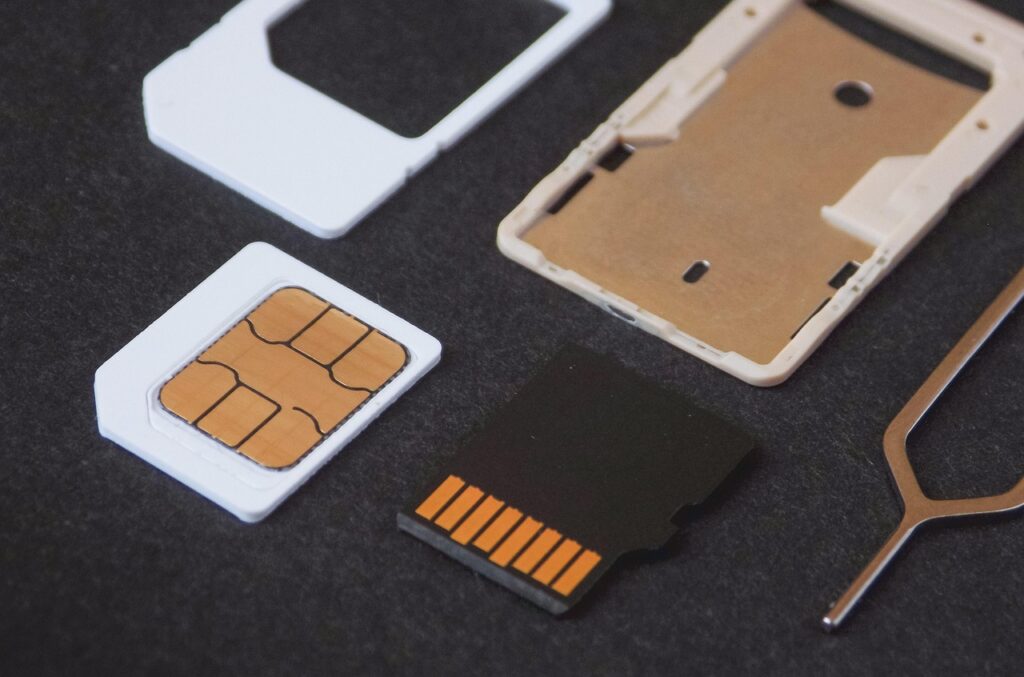
With registration done, select your plan. Prepaid packages dominate for foreigners, offering data, minutes, and texts for a set period with top-ups as needed. Compare the current packages offered and pick the one matching your usage: data-heavy, call-heavy, or balanced.
Pay for the plan and any SIM card fee at the point of sale. Most stores accept cards, and airport kiosks typically do as well. Keep the receipt and the package details, because they show your plan’s validity period and included allowances.
Ask about the operator’s app at this point, because you will need it for top-ups and balance checks. The staff can point you to the app and explain the first steps of using it.
Step 8: Activate and Test Your SIM
For a physical SIM, insert the card, restart the phone, and wait for the network to register. For an eSIM, follow the activation steps: scan the QR code or download the profile, then confirm the line appears in your settings. Activation usually takes minutes.
Test everything before leaving the store or finishing the digital setup: make a call, send a message, and load a web page. If data is included, test it, because a plan that works in the store will work everywhere. If anything fails, resolve it with the staff immediately.
Check that your phone shows the Turkish network and that incoming SMS works, because SMS verification is the backbone of banking and government services. Have someone send you a message, or trigger a verification code, to confirm.
Keep your original documents safe even after the purchase is complete. The operator may ask you to present them again if you request a replacement SIM, change your plan type, or update your registration, and having the originals ready makes every future interaction faster. Store your passport, residence permit, and tax number together in a place you can reach quickly, and keep a digital scan of each in your phone or cloud storage as a backup. Consistent documentation is the quiet foundation of a trouble-free mobile service.

Step 9: Link Your Number to Your Life
With the line working, connect it to your accounts. Update your banking app with the Turkish number, register it with your payment services, and use it for government portals that verify by SMS. A working number is most valuable when it is the one your important services know.
Set up the operator’s app and register for online account management. The app allows balance checks, top-ups, and package changes, and it is the channel for many support requests. Set a reminder to top up before your data expires.
If you have a residence permit, confirm whether your registration is resident type, and note when you should update it after renewals or changes. Your number should stay consistent with your official records throughout your stay.
Finally, review your plan periodically rather than letting it run on autopilot. Operators launch new packages regularly, and the plan that suited your first month may no longer be the best value six months later. A quick monthly check of your usage in the operator app, followed by a comparison of current offers, keeps your costs honest. Changing packages is usually a simple in-app action, and the savings over a year are worth the few minutes it takes.
Step 10: Maintain Your Line and Stay Compliant
Ongoing maintenance is light but real. Keep your balance topped up, monitor your data usage through the app, and renew packages before they expire. A lapsed prepaid line can be reactivated, but the process is easier avoided than fixed.
Keep your registration current. Report passport renewals, address changes, and permit updates to the operator, because the national system expects consistency between your number and your identity records. A mismatch can suspend your line.
Finally, if you lose your phone, block the SIM immediately through the operator and request a replacement with the same number. Because your bank and government services rely on SMS codes, protecting your number is protecting your digital identity.
Frequently asked questions
How much does a Turkish SIM card cost?
The SIM card itself is inexpensive, and prepaid data packages are affordable by regional standards. Total first cost, card plus a basic data plan, is a modest amount that varies by operator and package. Compare current offers before buying.
Can I buy a SIM at the airport?
Yes, all major airports have operator kiosks offering SIMs and eSIMs for tourists and residents. They are convenient but sometimes cost slightly more than city stores. If your priority is speed after landing, the airport option works well.
Do I need a residence permit to buy a SIM?
Tourists can buy a SIM with just their passport, registered for the temporary period of their stay. A residence permit is required for resident registration with continuous service. Buy as a tourist first, then convert when your permit arrives.

All Over Information
The All Over Information editorial team researches and writes practical English-language guides to Turkey. Facts are checked against official and local sources before publication, prices are published as dated ranges rather than quotes, and guides are revised when things change. We accept no sponsored posts, paid placements or paid links.
More guides like this

Everything You Need to Know About Buying a Local SIM Card or eSIM
Buying a Turkish SIM card is a rite of passage for every newcomer, and the process hides more detail than it first…

Step-by-Step: Shipping Packages Internationally in Turkey
Sending a package from Turkey to another country is a sequence of decisions and small tasks, and each one is simpler than…

A Foreigner’s Guide to Finding Halal, Vegan, or Gluten-Free Food
Eating well in Turkey is one of the easiest parts of expat life, even with dietary restrictions. Turkish cuisine is built on…

Everything You Need to Know About Getting Married in Turkey as a Foreigner
A wedding in Turkey is a blend of legal formality and genuine celebration, and as a foreigner you will navigate both.

A Foreigner’s Guide to Understanding Turkish Labor Law
Turkish labor law is employee-friendly by design, and understanding it protects you from day one of your first job in the country.

A Foreigner’s Guide to Adopting a Street Cat or Dog
Every visitor to Turkey notices the cats and dogs who share the streets, and many visitors end up taking one home.